 how-to
Collaborating with Interior Designers on Murals: A Step-by-Step Guide
Last Updated: November 8, 2026
Quick Summary
Collaborating with interior designers on murals works best when you treat the designer as the client's translator and build each mural around their full picture of the room. Bring the artist in early, put the brief in writing, and hold the painted mockup as a hard checkpoint.
- A joint site visit resolves questions faster than weeks of trading emails.
- The one-page brief locks concept, palette, scale, and approvals before work starts.
- The avoid list is often the most valuable page in the brief.
- Surface prep is where a mural succeeds or fails, so build cure-time float into the schedule.
- Skipping the painted mockup is the most common cause of a full repaint later.
Table of Contents
- Why Mural Artists and Interior Designers Collaborate
- Building the Mural Design Brief Template
- Interior Design Mural Ideas That Fit the Space
- Choosing Mural Colors for a Room
- The Mural Installation Timeline, Start to Finish
- Schedule a Mural Consultation with NuArts
- Frequently Asked Questions
Why Mural Artists and Interior Designers Collaborate
Collaborating with interior designers on murals works best when the artist treats the designer as the client's translator, not a middleman. The designer holds the room's full picture: furniture plans, lighting, fabric samples, and the client's real preferences. Building each mural around that shared picture tends to produce sharper results.
A designer-artist partnership can help in several ways, including catching scale and palette problems early and simplifying site coordination.
A common mistake is for artists and designers to trade emails for weeks without a single joint walkthrough. A joint site visit often resolves questions faster than a long exchange of messages.
Building the Mural Design Brief Template
A mural design brief template is a one-page document that locks the concept, palette, scale, and approvals before work starts. Designer and artist can each sign it to confirm agreement. It prevents the two most expensive words in this trade: "I thought."
Most briefs fail because they describe the artwork but not the wall. A mural is a permanent coating system applied to a substrate, so the brief has to capture site conditions the same way a finish schedule does. Fill in these fields together, on site when possible:
- Room and wall: exact dimensions, ceiling height, soffit and trim lines, and what sits against the wall
- Substrate and condition: drywall, plaster, brick, concrete, or panel; note patching, texture, efflorescence, or moisture readings
- Concept direction: two or three reference images, plus an explicit "avoid" list
- Color palette: named swatches tied to the room's fabrics and finishes, with sheen level called out
- Scale and placement: where the focal point lands at eye level and how the design dies into corners and trim
- Coating system: primer, paint line, and protective topcoat, matched to the room's use and cleaning regimen
- Access and protection: loading path, elevator or stair constraints, floor and furniture protection, and daily cleanup
- Timeline: start date, cure and dry time between coats, and finish date
- Approval checkpoints: sketch, color mockup, and final sign-off, each with a named approver
- Revision rounds: how many are included and what counts as a change
- Permissions and insurance: who confirms owner or tenant approval, building rules, and certificate of insurance before mobilization
What most guides miss is the substrate field. A wall that looks flat under room light can hide patching, texture, or moisture issues that change the whole prep plan. The ASTM standards for evaluating coating substrates give a useful checklist for judging whether a wall is ready for finish work. A common pattern is a brief that approves a rich, saturated color on a wall that turns out to be high-gloss or freshly patched; the paint reads differently over each, and the mockup is where that gets caught.
Write the approval language so it is unambiguous. "Designer approves sketch by [date]" is weaker than "Designer and client sign the color mockup on the wall before painting begins; changes after sign-off are billed as a new phase." The second version is what protects both parties when a client sees the mockup in person and wants the horizon line moved.
Watch out: a brief that lists "two or three reference images" without naming what to avoid invites a concept the designer already rejected two showrooms ago. The avoid list is often the most valuable page in the document.
Interior Design Mural Ideas That Fit the Space
The best interior design mural ideas grow from the room's architecture, not from a mood board. A mural that ignores the soffit line or the window placement fights the room forever.
Ideas that hold up in practice:
- Tone-on-tone botanicals for dining rooms and boutique hotel suites
- Abstract horizon lines that stretch a low ceiling
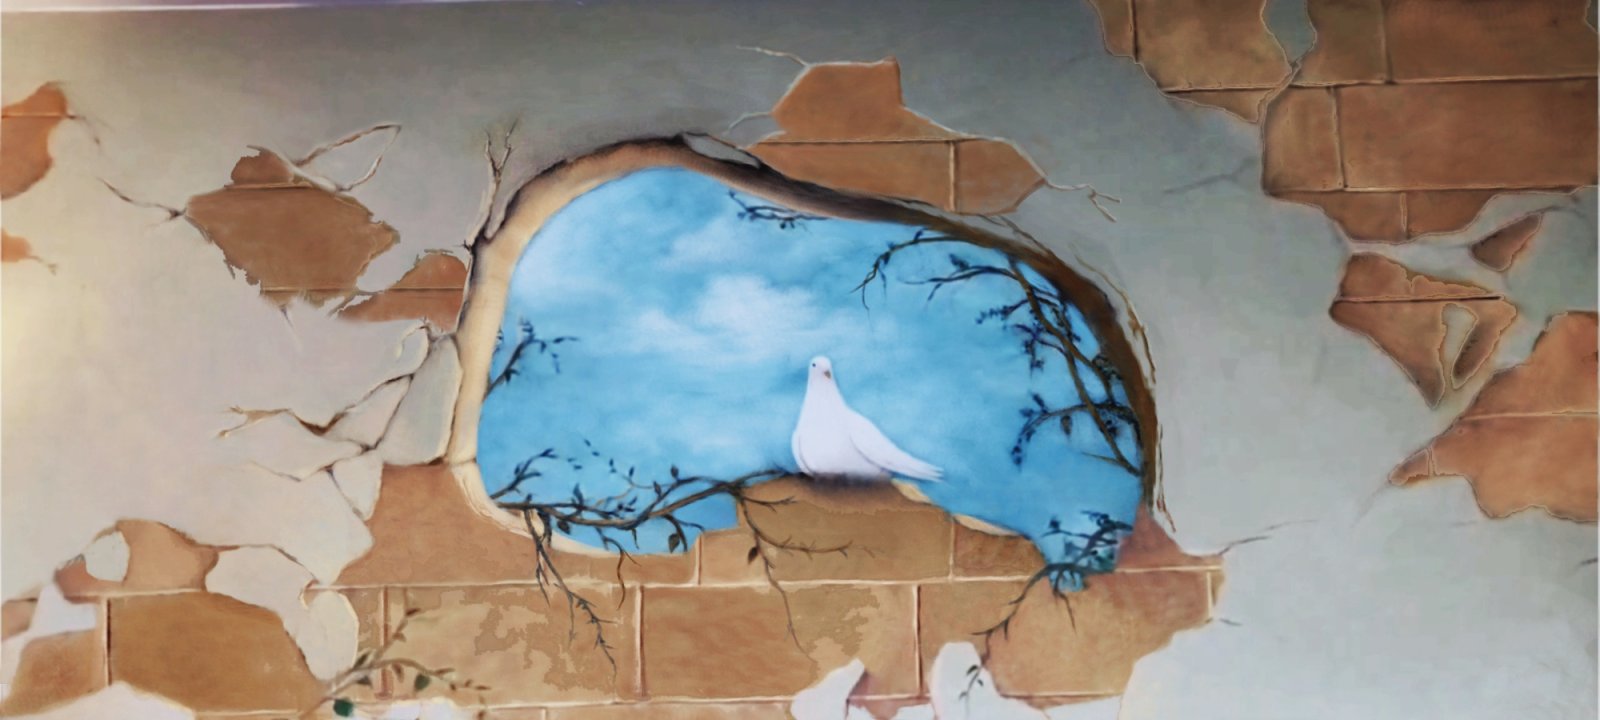
- Architectural trompe l'oeil for lobbies and stairwells
- Heritage patterns for restaurants with a strong brand story
- Soft gradient washes behind reception desks
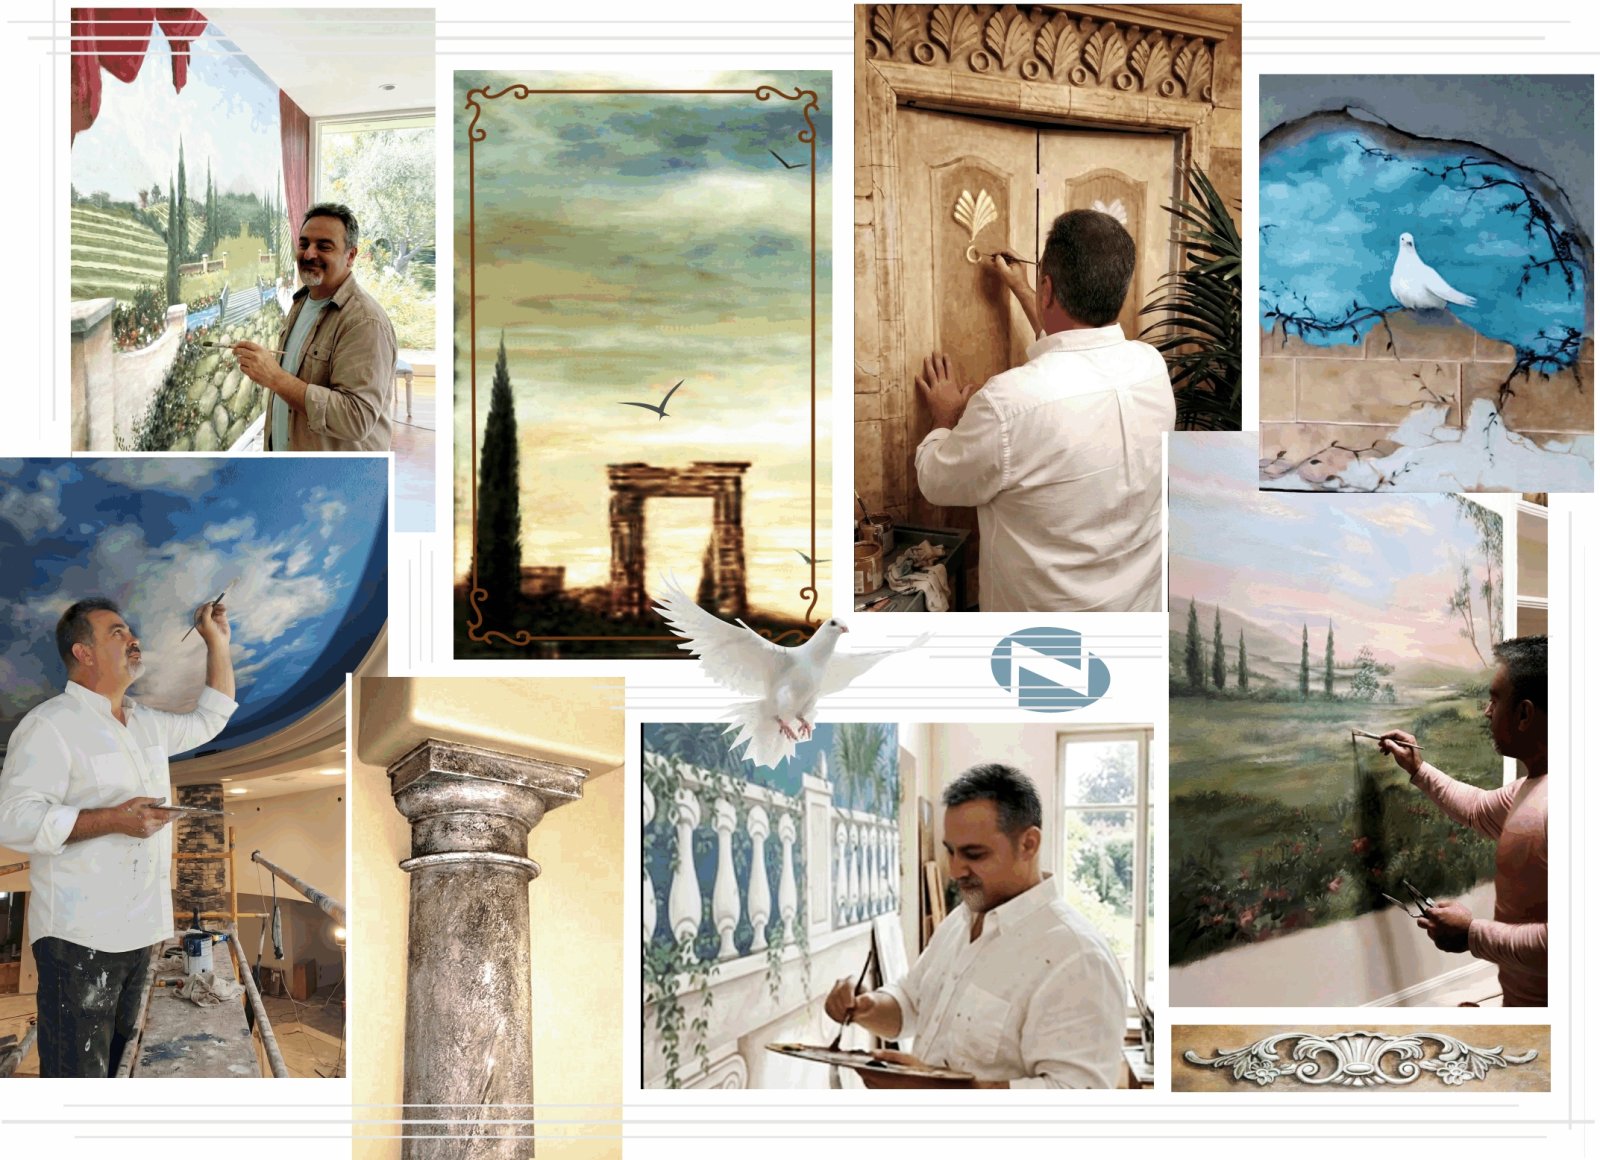
For designers who want to see finished work before pitching a direction, our wall murals and decorative paintings page shows how these ideas land on real walls.
Choosing Mural Colors for a Room
Choosing mural colors for a room starts with the light, not the paint chip. North-facing rooms pull cool, so warm undertones keep a mural from going gray. South-facing rooms flood with warmth and can carry deeper, richer hues.
Work in this order:
- Pull three colors from the room's existing fabrics or stone
- Test large painted samples on the actual wall, not paper
- Check the samples at morning, afternoon, and evening light
- Confirm the palette under the room's real fixtures, not a work lamp
The designer usually owns this step, and that is exactly right. They know which colors the client already rejected two showrooms ago.
The Mural Installation Timeline, Start to Finish
A mural installation timeline runs through six stages: brief, concept sketch, color mockup, surface prep, painting, and final approval. Most residential walls move through these stages over a few weeks, while large commercial work stretches longer with more coordination. The sequence matters more than the calendar, because each stage produces something the next stage depends on.
Here is how the stages typically line up:
| Stage | What Happens | Who Signs Off | Site Notes |
|---|---|---|---|
| Brief | Site visit, measurements, substrate check, palette review | Designer and client | Confirm access path, elevator size, and building hours |
| Concept sketch | Scaled drawing on the wall or paper | Designer | Check focal point against furniture plan and lighting |
| Color mockup | Painted sample panels on site | Client | View at morning, afternoon, and evening light |
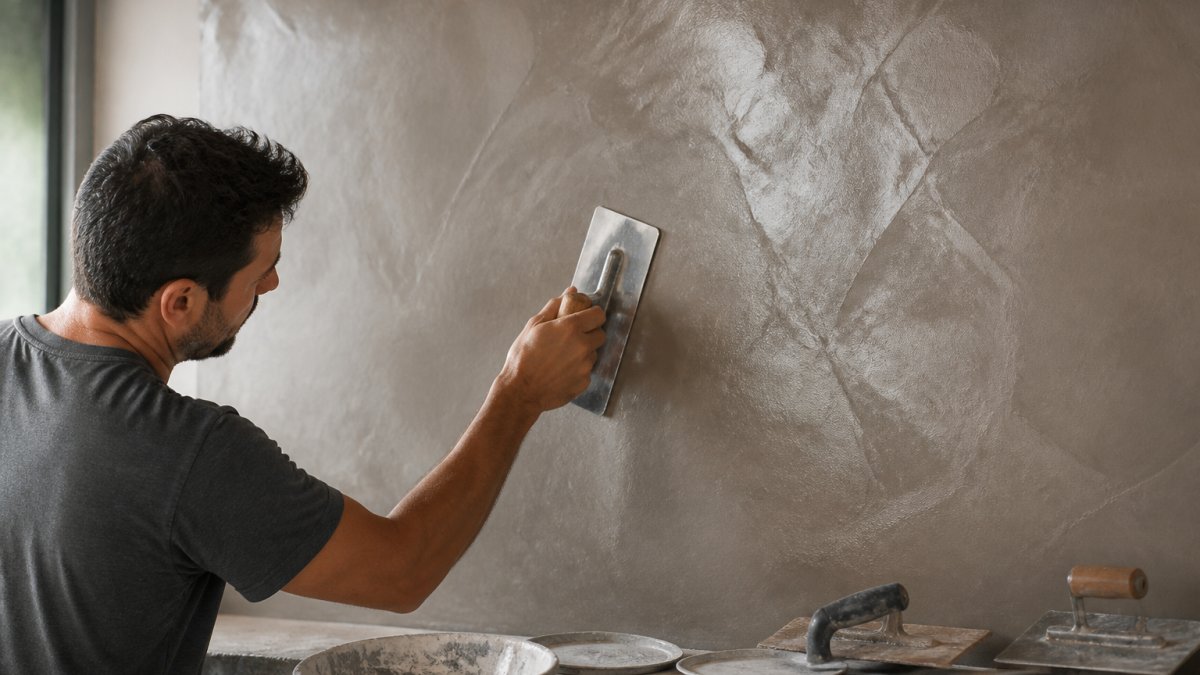
| Surface prep | Patching, sanding, priming, sealing | Artist | Allow cure time before paint; moisture issues stop work |
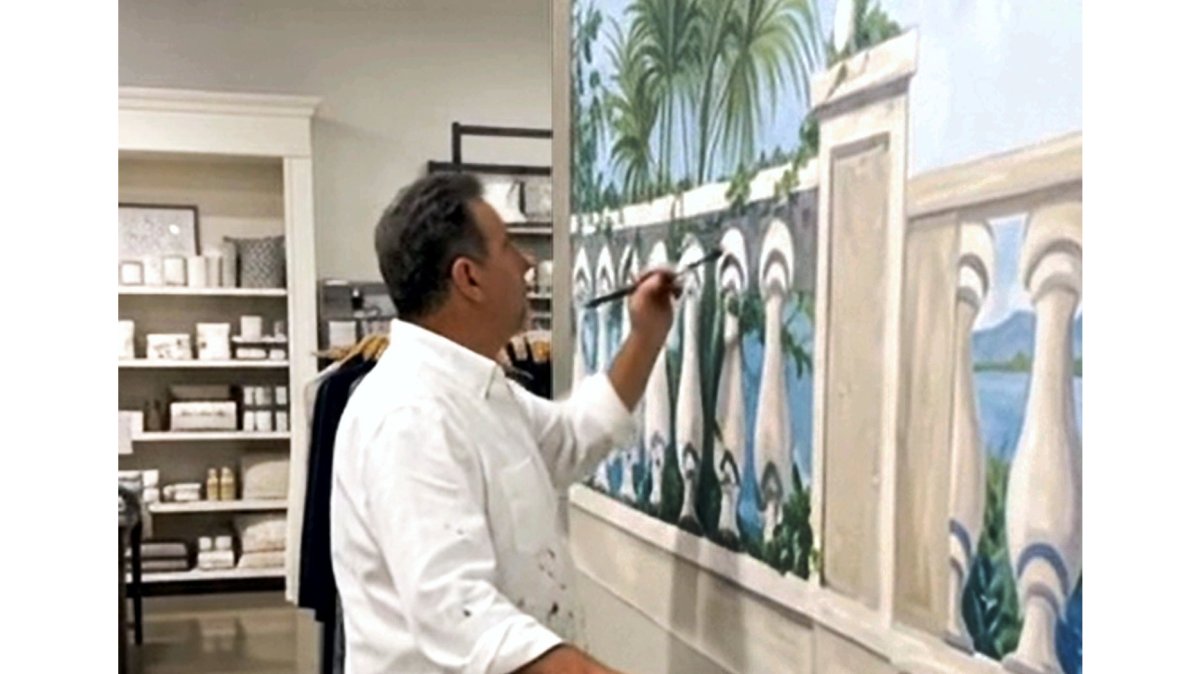
| Painting | Main mural work and detail passes | Artist | Protect floors and furniture; plan daily cleanup |
| Final approval | Walkthrough and touch-ups | Designer and client | Hand off care instructions and touch-up kit |
Two stages deserve more attention than they usually get. Surface prep is where a mural succeeds or fails, and it is also where schedules slip. Primer and patching compounds need to cure before the next coat, and a humid week or a cold room can add days. Build that float into the schedule rather than promising a finish date the wall cannot meet.
The final approval stage is also a handoff, not just a sign-off. Designers should ask for the paint line and sheen used, the topcoat product, and written cleaning guidance at handoff. A mural in a busy commercial space will get cleaned, and the wrong cleaner on the wrong sheen dulls or streaks the finish. For designers weighing a permanent installation against movable artwork, our breakdown of the four phases of a custom-design mural walks through the same sequence in more detail.
Watch out: skipping the painted mockup to save a week is the most common cause of a full repaint later, and it is the one shortcut that almost never pays for itself.
Schedule a Mural Consultation with NuArts
A joint site visit is a good place to start, with the designer, client, and artist walking the space together. If you are still scoping the project, NuArts offers a Free Consultation and Estimates for projects in this stage.
From there, a project can move through the brief, sketch, and mockup stages with approval points at each one. Designers who want reassurance on demanding spaces can read whether a custom mural holds up in a busy commercial space before committing.
NuArts offers Custom Murals & Faux Finishes, including hand-painted murals, faux finishes, and Venetian plaster for homes and businesses in the San Francisco Bay Area. When you are ready to talk through a project, reach the studio through our contact page.
The takeaway for designers: bring the artist in early, put the brief in writing, and hold the mockup as a hard checkpoint. That sequence can help keep murals on schedule and on vision, whether the room is a residence or a boutique hotel lobby.
Frequently Asked Questions
How do mural artists collaborate with interior designers?
Mural artists and interior designers collaborate through a structured process: a shared design brief, a site visit, concept and color approval, a detailed proposal, scheduling, and a final walkthrough. The designer brings the client's vision, room dimensions, and finish selections; the artist translates those into a feasible mural plan. Clear decision checkpoints at each stage keep the project on track and avoid surprises during installation.
What should an interior designer include in a mural brief?
A strong mural brief covers the room's purpose, dimensions, and architectural features; the client's aesthetic and color palette; reference images and mood board; budget range; desired completion date; and any surface or access constraints. Include who approves each milestone and how many revision rounds are expected. This brief becomes the foundation for the artist's proposal and the mural design brief template used throughout the project.
When should a mural artist join an interior design project?
Bring the mural artist in during the concept or schematic design phase, before finishes and furnishings are finalized. Early involvement lets the artist assess wall surfaces, propose scale and placement, and coordinate colors with the designer's palette. Waiting until construction is underway often forces compromises on design, budget, or schedule, and may require rework of adjacent finishes.
How long does a mural installation take?
A mural installation timeline depends on size, complexity, surface preparation, and drying time between layers. Small residential murals may take a few days on site, while large commercial projects can span several weeks including design, approvals, and scheduling. The artist should provide a phased schedule with clear milestones so the designer can coordinate other trades and avoid delays.