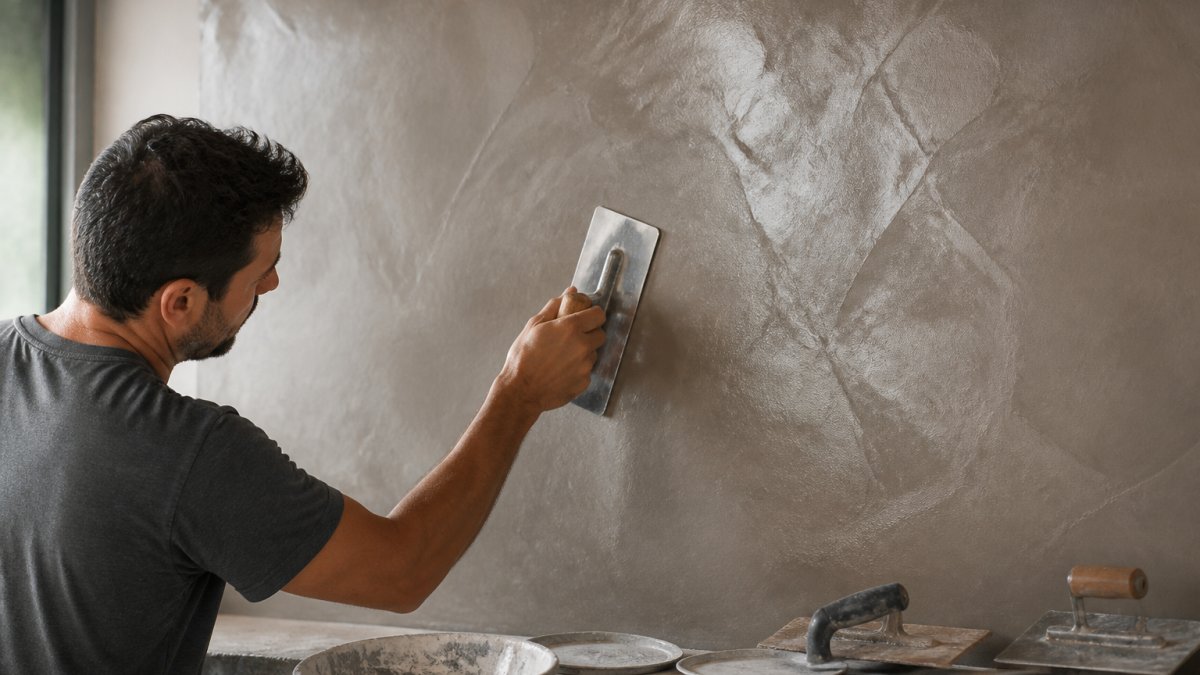
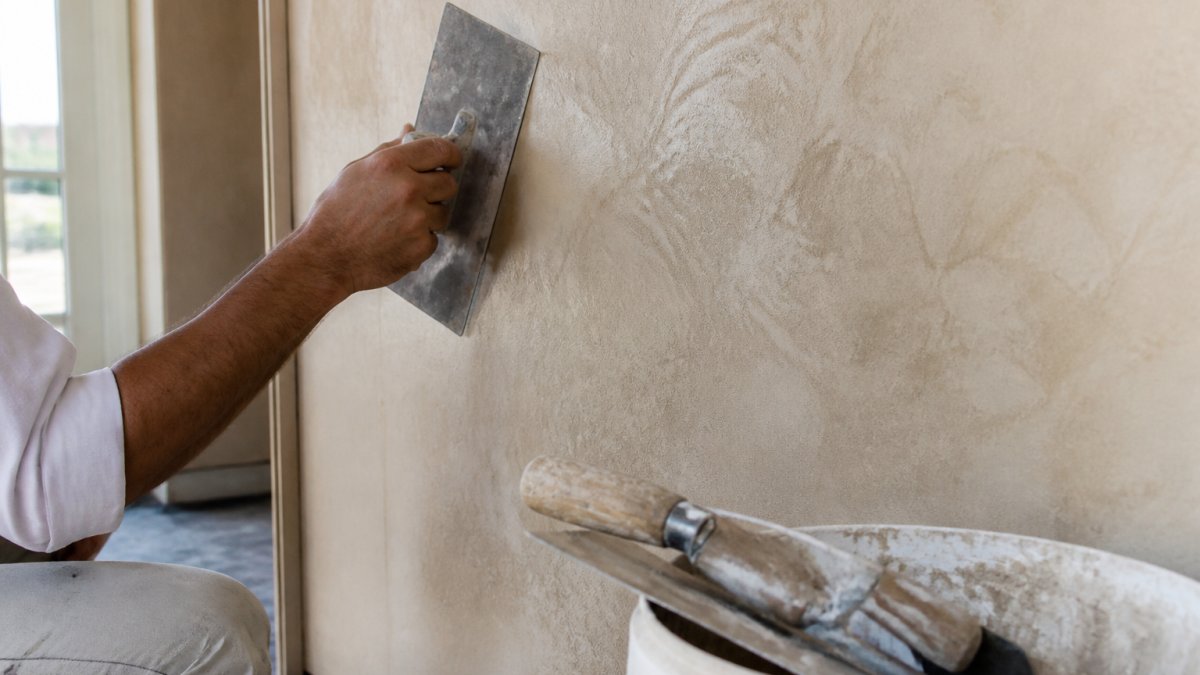
 how-to
How to Prevent Venetian Plaster from Cracking
Last Updated: October 30, 2026
Quick Summary
Preventing venetian plaster from cracking starts with diagnosing the cause: wall movement, moisture, coats applied too thick, or poor surface prep. Prime the substrate properly, apply several thin coats instead of a few thick ones, and let each coat cure fully before the next. Repair small hairline cracks in place, but call a specialist if cracks return or the plaster sounds hollow.
- Straight cracks near corners and seams usually point to building movement or missing movement allowance at joints.
- Spiderweb or map cracking suggests coats applied too thick or too fast with poor drying between them.
- A working coat should be thin enough that the trowel leaves a translucent film.
- Never back-fill a low spot with a thick dab of plaster; let the next thin coat build it up.
- Burnish only after the coat has set enough that the trowel glides without dragging.
Table of Contents
- Why Is Venetian Plaster Cracking? Diagnosing the Cause First
- Venetian Plaster Primer and Surface Preparation That Prevent Cracks
- Venetian Plaster Application Tips for Thin, Even, Crack-Free Coats
- How to Repair Venetian Plaster Cracks Without Replastering Everything
- When to Repair Yourself and When to Bring In a Specialist
- Frequently Asked Questions
Why Is Venetian Plaster Cracking? Diagnosing the Cause First
Venetian plaster cracks for a handful of predictable reasons: movement in the wall behind it, moisture pushing through, coats applied too thick, or a surface that was never prepped to hold it. The crack itself is rarely the problem.
Preventing Venetian plaster from cracking starts with honest diagnosis. A crack filled without understanding its cause will return, usually within a season.
Reading Crack Patterns and Locations
Crack shape tells you where the failure lives. Here's how we read them:
- Straight vertical or horizontal lines near corners and seams usually point to building movement or missing movement allowance at joints.
- Spiderweb or map cracking across a broad area suggests coats applied too thick or too fast, with poor drying between them.
- Hairline cracks in a grid pattern often trace back to drywall joints or a wood frame flexing under the plaster.
Location matters as much as shape. A crack at a ceiling line behaves differently from one in the middle of a plastered block wall. Note both before you touch anything.
Substrate and Compatibility Checks
Before any repair, confirm what's under the plaster. Tap the wall gently. A hollow sound means the plaster has separated from the substrate, and no surface fix will hold. Any of these findings changes the plan. guidance on moisture control in buildings from the EPA
Crack shape and location point to the underlying cause, so read the pattern before touching the wall.
| Crack pattern or finding | Likely cause |
|---|---|
| Straight vertical or horizontal lines near corners and seams | Building movement or missing movement allowance at joints |
| Spiderweb or map cracking across a broad area | Coats applied too thick or too fast, poor drying between them |
| Hairline cracks in a grid pattern | Drywall joints or a wood frame flexing under the plaster |
| Cracks radiating from a single point | Impact damage or a localized soft spot in the substrate |
| Hollow sound when tapped | Plaster has separated from the substrate |
| White chalky residue on block walls | Efflorescence signaling moisture moving through masonry |
Venetian Plaster Primer and Surface Preparation That Prevent Cracks
Surface preparation is where most crack prevention is won or lost. A proper Venetian plaster primer seals the substrate, evens out absorption, and gives the first coat something to grip. Skip it and you're relying on luck.
Here's our preparation sequence:
- Clean the wall thoroughly. Remove dust, grease, and loose material with a soft cloth and a non-abrasive cleaner.
- Fill and sand any hollows or lumps. A drywall knife and fine sandpaper get you to a flat plane.
- Check joints. Apply scrim tape or reinforcement tape over seams and corners on drywall and wood frame walls.
- Prime with a product matched to the substrate. Block walls, drywall, and existing plaster each want a different primer.
- Let the primer cure fully before the first coat.
Watch out: priming over a damp wall traps moisture behind the finish. Test for moisture first, and never prime until the substrate reads dry.
Venetian Plaster Application Tips for Thin, Even, Crack-Free Coats
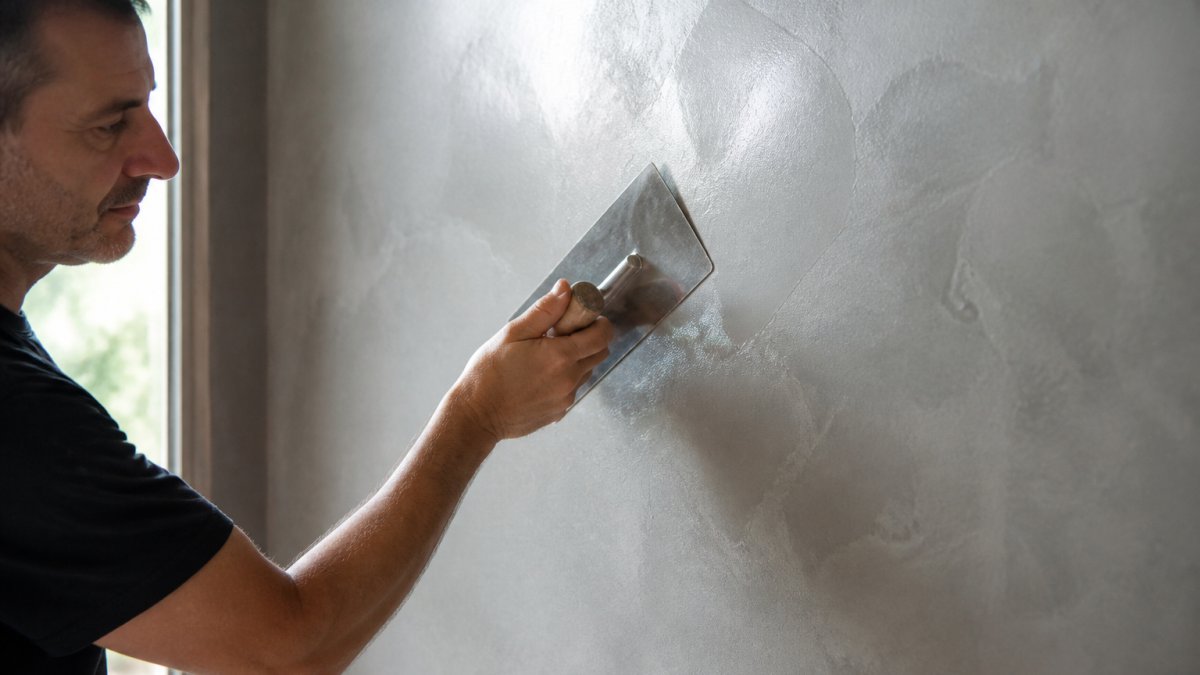
Thin coats are the single best defense against cracking, but "thin" is a measurable film, not a feeling. Many Venetian plaster failures come from coats applied well above the recommended thickness, because the applicator chased coverage instead of building layers.
What "Thin" Actually Means for Venetian Plaster
A working coat of Venetian plaster should be thin enough that the trowel leaves a translucent film and the substrate texture still reads through it. Coat thickness varies by product, so follow the manufacturer's published thickness guidance.
Building the finish in several thin coats rather than a few thick ones is generally the safer approach. Each thin coat adds depth; a single heavy coat adds risk.
Application Rules That Prevent Cracks
- Apply each coat thin enough that the trowel leaves a translucent film.
- Use a stainless steel trowel and keep consistent pressure, varying pressure creates density differences that crack later.
- Work in small sections so the plaster stays workable and you can finish an edge before it sets.
A common mistake is rushing the last coat for shine. Burnishing too early, while the plaster is still wet underneath, creates stress lines that become cracks later. Burnish only when the coat has set enough that the trowel glides without dragging.
Curing and Drying Between Coats
Drying time is not optional, and it is the step most DIY applicators compress. Each coat needs to set before the next goes on, watch the room, not the clock. Keep a consistent temperature, avoid drafts, and don't run a heater directly on fresh plaster. Rapid drying causes uneven curing and surface tension. A coat that looks dry may still be curing beneath the surface, so give it the full window before troweling the next layer.
Temperature, Humidity, and Ventilation Parameters
Venetian plaster needs specific ranges, not generic consistency. Lime-based manufacturers publish application and curing temperature and humidity ranges, and those published ranges should be followed. Conditions outside them can stall curing or cause the plaster to skin over before it bonds. Avoid direct airflow from fans or HVAC registers on fresh plaster, it dries the surface faster than the body of the coat, which is exactly how surface-checking cracks form.
Burnishing and the Final Coat
The final coat is where sheen is built, and where impatience can cause cracks. Burnish with a clean stainless or marble trowel only after the coat has set enough to resist dragging. Work in overlapping passes with light pressure. If the trowel pulls wet plaster, stop and wait, burnishing a wet coat compresses the surface unevenly and creates stress lines that open into hairline cracks weeks later.
How to Repair Venetian Plaster Cracks Without Replastering Everything
Small hairline cracks can often be repaired in place. The goal is to stabilize the crack and blend the finish, not to coat the whole wall. The hard part is not filling the crack, it is making the repair invisible on a hand-built surface where color, texture, and sheen vary by nature.
Step-by-Step Repair
- Widen the hairline slightly with a drywall knife so repair material can reach the base. A hairline that is only surface-deep will not hold filler.
- Remove loose material and dust with a soft cloth. Do not sand aggressively, you will change the surrounding texture.
- Apply primer to the exposed area and let it cure. Use a primer compatible with the existing finish; an incompatible primer can telegraph through the repair.
- Fill with matching plaster in thin layers, building up to the wall plane. Build in two or three thin passes rather than one thick fill.
- Sand lightly with fine sandpaper to level the patch. Stop as soon as it is level, over-sanding burnishes the patch and changes how it takes the finish coat.
- Reapply the finish coats and burnish to match the surrounding sheen.
Matching Texture, Sheen, Color, and Burnishing
Matching the finish is where most DIY repairs fail. Venetian plaster has variation by nature, so a patch that is too uniform stands out as much as one that is the wrong color.
- Color: Use plaster from the same batch if possible. If not, test a small area and let it cure fully before judging, Venetian plaster shifts color as it dries and cures.
- Texture: Match the trowel pattern, not just the flatness. Note whether the surrounding finish is smooth burnished, lightly textured, or heavily mottled, and replicate that movement in the patch.
- Sheen: Sheen comes from burnishing pressure and timing. Burnish the patch with the same trowel type and pressure used on the surrounding wall, and compare under raking light.
Under strong LED light, check the patch from several angles before you call it done. Raking light, light held low and parallel to the wall, reveals texture and sheen mismatches that straight-on light hides.
When Patching Will Not Hold
Some cracks should not be patched at all. If the plaster sounds hollow when tapped, it has separated from the substrate, and no surface fill will bond it back. If the crack returns after repair, the cause, movement, moisture, or substrate failure, is still active. Diagnose the cause first, then decide whether repair or replacement is the right path.
When to Repair Yourself and When to Bring In a Specialist
DIY repair makes sense for isolated hairline cracks on a sound substrate. Call a specialist when you see any of these:
- Cracks that return after repair
- Hollow, drummy areas where plaster has separated
- Cracks wider than a hairline, or spreading
Finish matching is where experience shows. If you want to see what properly executed work looks like before deciding, browse our faux finishes and Venetian plaster motifs. When you're ready to hand it to a professional, you can explore our mural and Venetian plaster services, learn about our background in decorative finishes, or simply get in touch to request an assessment.
Frequently Asked Questions
Why does Venetian plaster crack?
Most Venetian plaster cracks come from movement and moisture rather than the finish itself. Building settlement, wood frame shrinkage, and temperature swings stress the plaster, while moisture imbalance during drying causes uneven shrinkage. Applying coats too thick, skipping primer, or plastering over an incompatible substrate also triggers cracking. Diagnosing the pattern, hairline spiderweb cracks versus long straight cracks along joints, tells you which cause you are dealing with before you repair.
Can primer help prevent cracks in Venetian plaster?
Yes. A compatible Venetian plaster primer seals the substrate, controls suction, and gives the first coat a stable base to bond to. On drywall, bare plasterboard, or patched walls, skipping primer lets the plaster dry too fast and shrink unevenly. Choose a primer made for the specific substrate and let it cure fully before troweling. On high-suction surfaces, a second primer coat often makes the difference between a smooth finish and early hairline cracks.
How do you repair cracks in Venetian plaster?
Widen hairline cracks slightly with a drywall knife, remove loose material, and fill with a matching plaster or flexible filler. Apply scrim tape or reinforcement tape over cracks along joints, then skim thin coats and feather the edges. Sand gently with fine sandpaper, clean with a soft cloth, and reapply finish coats to match sheen and color. For long structural cracks or widespread map cracking, a specialist should assess the wall before you replaster.
Do temperature and humidity affect Venetian plaster application?
They affect it heavily. Freshly applied plaster needs a consistent temperature and moderate humidity to cure evenly. Drafts, direct sun, and high heat dry coats too fast and cause shrinkage cracks, while cold or damp conditions slow curing and weaken the bond. Keep the room stable during application and for several days after, and avoid running heaters or dehumidifiers directly on new plaster. Stable conditions are one of the most reliable crack prevention measures.
Cracked Venetian plaster is usually a prep and curing problem, not a mystery. Get the substrate right, prime it properly, apply thin coats, and let each one cure, and most cracks never appear. When a wall needs expert hands, NuArts brings custom Venetian plaster, faux finishes, and tailored design to homes and commercial spaces across the Bay Area. Get started with NuArts and give your walls a finish built to last.